Before you begin
Download the following software:
· UCMA 4.0:
http://www.microsoft.com/en-us/download/details.aspx?id=34992
· Office 2010 filter packs 64 bit:
http://www.microsoft.com/en-us/download/details.aspx?id=17062
· Office 2010 filter packs SP1 64 bit:
http://www.microsoft.com/en-us/download/details.aspx?id=26604
Prerequisite installation
Step 1 : Open Windows Powershell
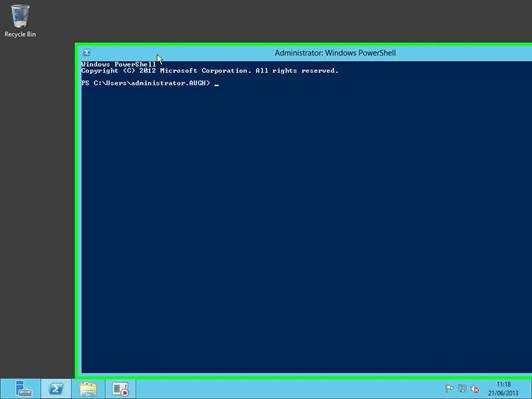
Step 2: Enter following string to start prerequisite installation for a multirole server –
Install-WindowsFeature AS-HTTP-Activation, Desktop-Experience, NET-Framework-45-Features, RPC-over-HTTP-proxy, RSAT-Clustering, RSAT-Clustering-CmdInterface, RSAT-Clustering-Mgmt, RSAT-Clustering-PowerShell, Web-Mgmt-Console, WAS-Process-Model, Web-Asp-Net45, Web-Basic-Auth, Web-Client-Auth, Web-Digest-Auth, Web-Dir-Browsing, Web-Dyn-Compression, Web-Http-Errors, Web-Http-Logging, Web-Http-Redirect, Web-Http-Tracing, Web-ISAPI-Ext, Web-ISAPI-Filter, Web-Lgcy-Mgmt-Console, Web-Metabase, Web-Mgmt-Console, Web-Mgmt-Service, Web-Net-Ext45, Web-Request-Monitor, Web-Server, Web-Stat-Compression, Web-Static-Content, Web-Windows-Auth, Web-WMI, Windows-Identity-Foundation
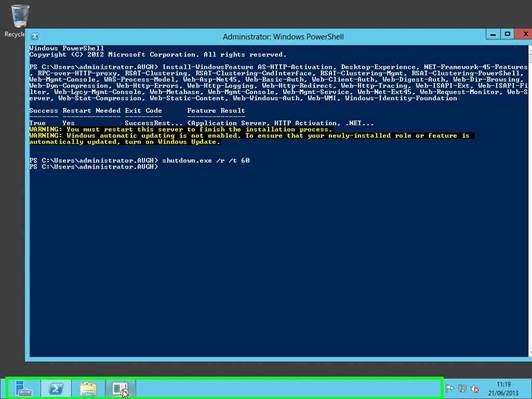
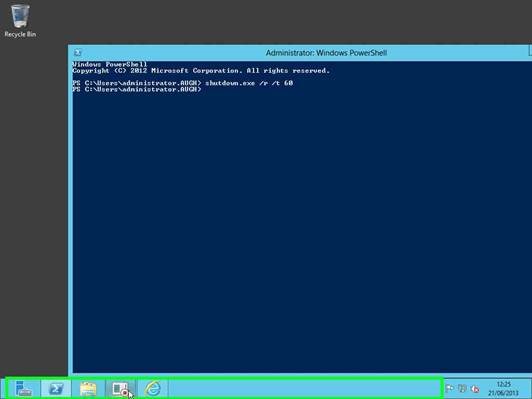
Step 3: restart the server
Shutdown.exe /r /t 60
Step 4: Install the UCMA Runtime Setup
Navigate to the folder holding the prerequisite downloads and double click the “UCMARunTimeSetup”
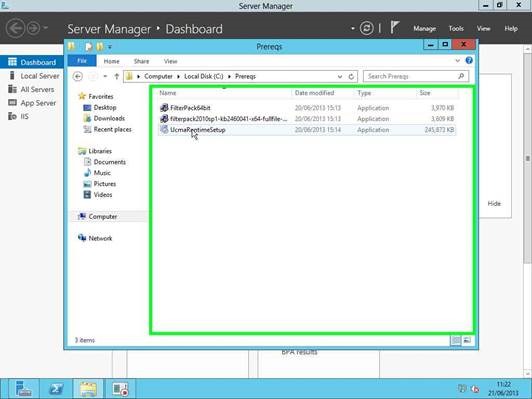
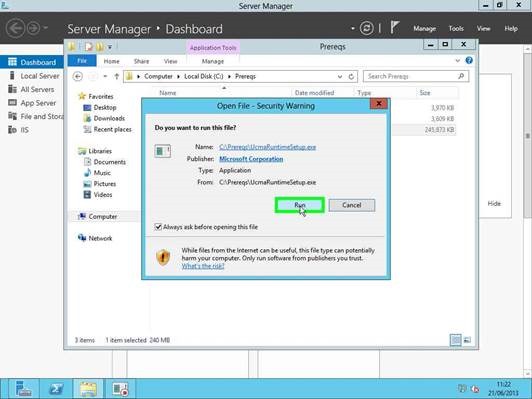
Step 5: Accept the Run prompt
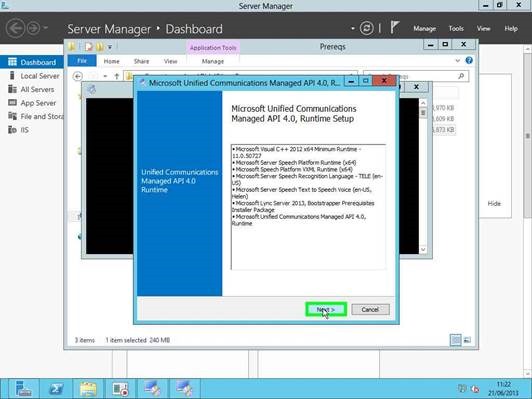
Step 6: Click the left click on "Next (button)" in "Microsoft Unified Communications Managed API 4.0, Runtime Setup"
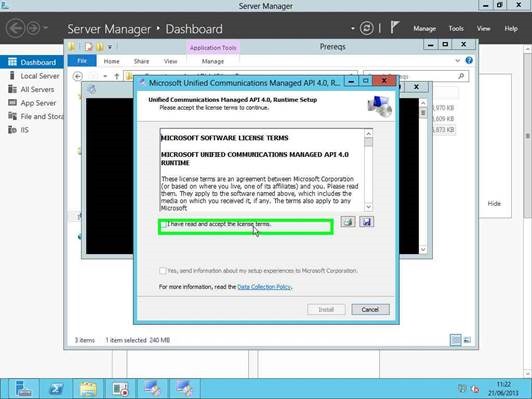
Step 7: Left click on "I have read and accept the license terms. (check box)" in "Microsoft Unified Communications Managed API 4.0, Runtime Setup"
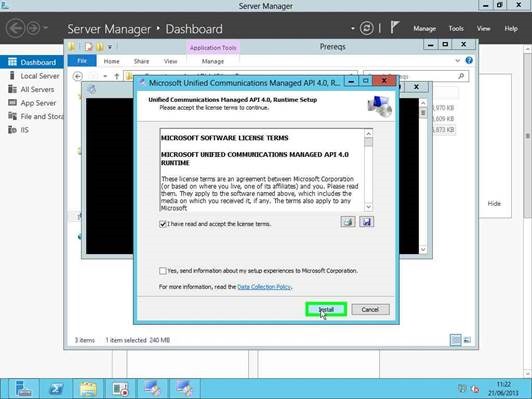
Step 8: Left click on "Install (button)" in "Microsoft Unified Communications Managed API 4.0, Runtime Setup"
Step 9: Left click on "Finish (button)" in "Microsoft Unified Communications Managed API 4.0, Runtime Setup"
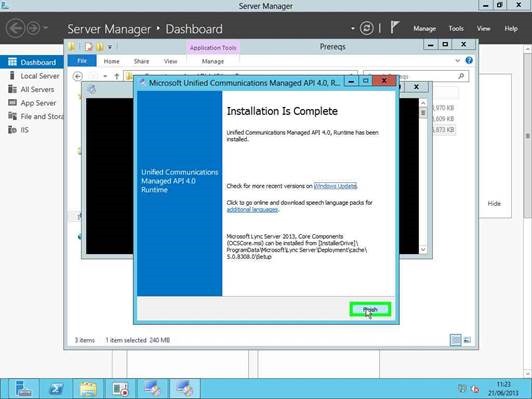
Step 10: Start the Office 2010 filter pack installation
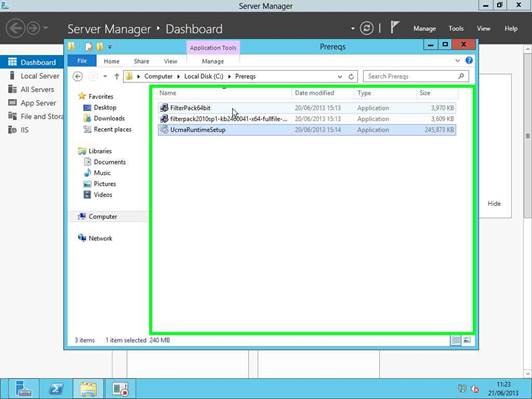
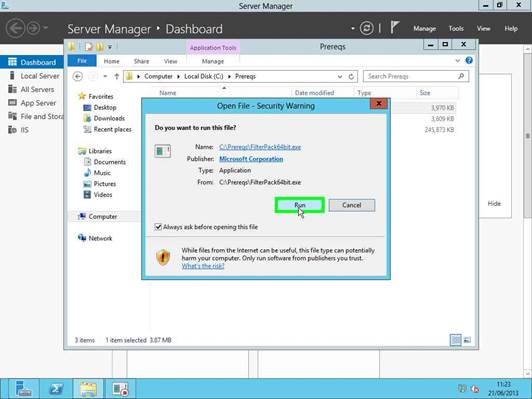
Step 11: Left click on "Run (button)" in "Open File - Security Warning"
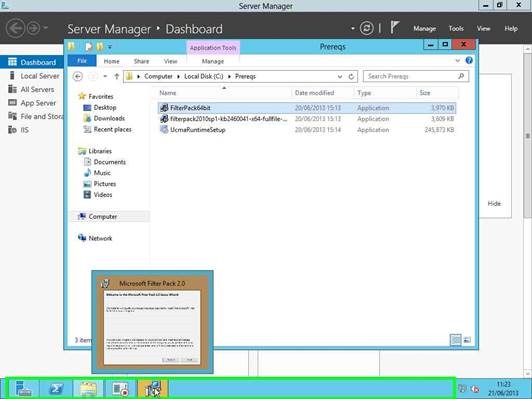
Step 12: Left click on "Microsoft Filter Pack 2.0 (button)" as it hides in the background by default.
Step 13: Left click on "Next (button)" in "Microsoft Filter Pack 2.0"
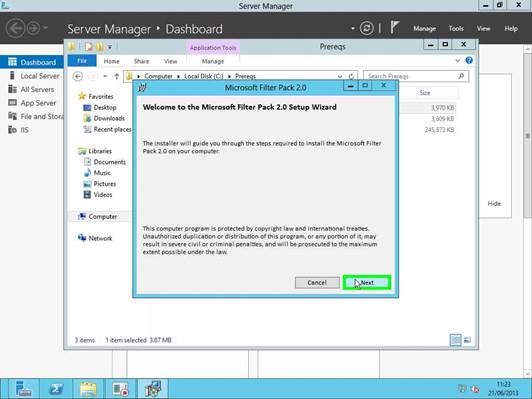
Step 14: Left click on "I accept the terms in the License Agreement (check box)" in "Microsoft Filter Pack 2.0"
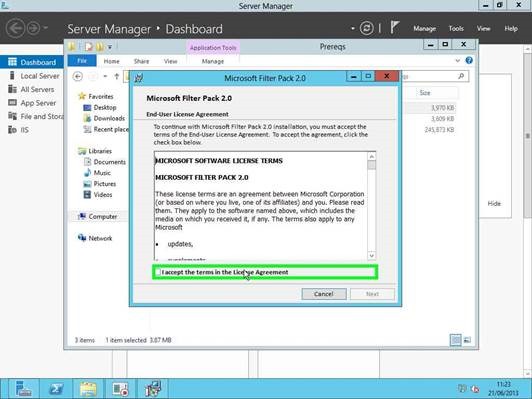
Step 15: Left click on "Next (button)" in "Microsoft Filter Pack 2.0"
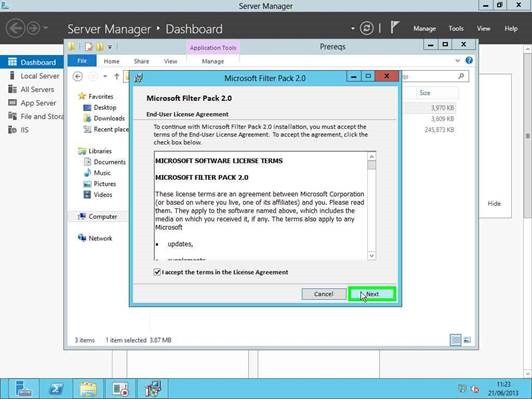
Step 16: Left click on "OK (button)" in "Microsoft Filter Pack 2.0"
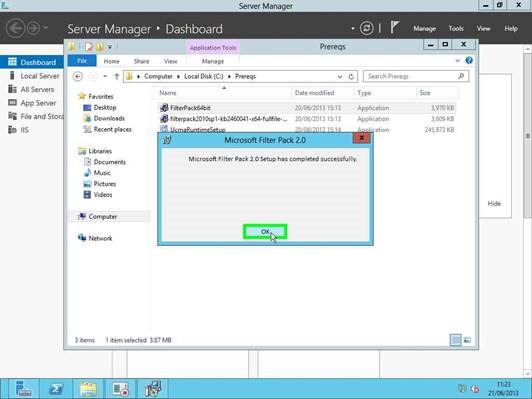
Step 17: Start the installation of the Office 2010 Filterpack SP1.
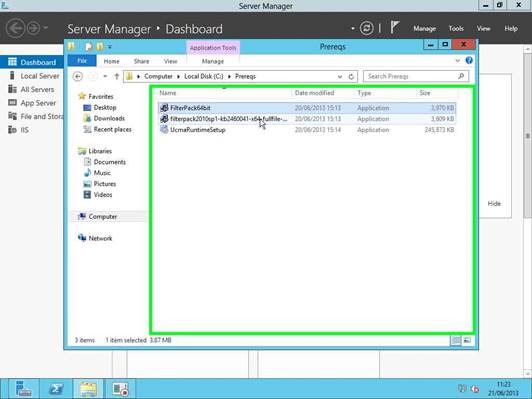
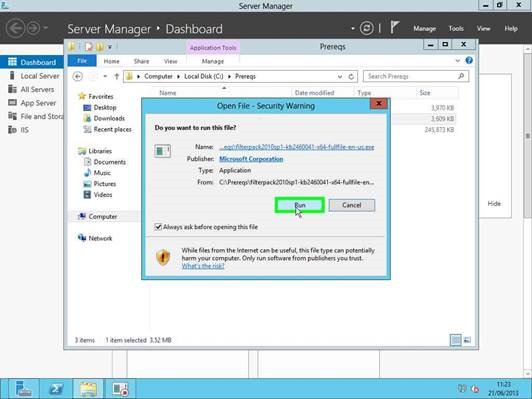
Step 18: Left click on "Run (button)" in "Open File - Security Warning"
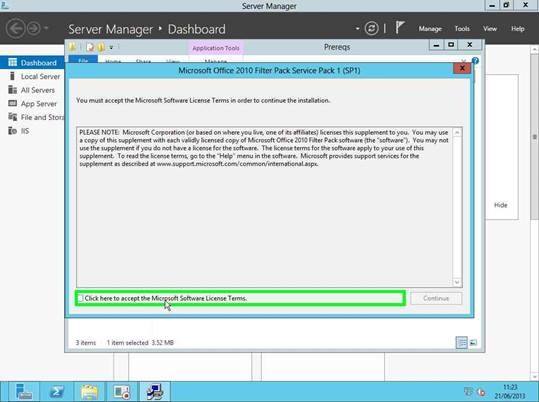
Step 19: Left click on "Click here to accept the Microsoft Software License Terms. (check box)" in "Microsoft Office 2010 Filter Pack Service Pack 1 (SP1)"
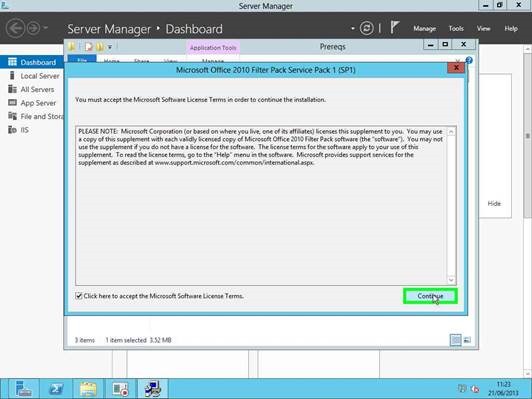
Step 20: Left click on "Continue (button)" in "Microsoft Office 2010 Filter Pack Service Pack 1 (SP1)"
Step 21: (21/06/2013 11:23:25) User left click on "OK (button)" in "Microsoft Office 2010 Filter Pack Service Pack 1 (SP1)"
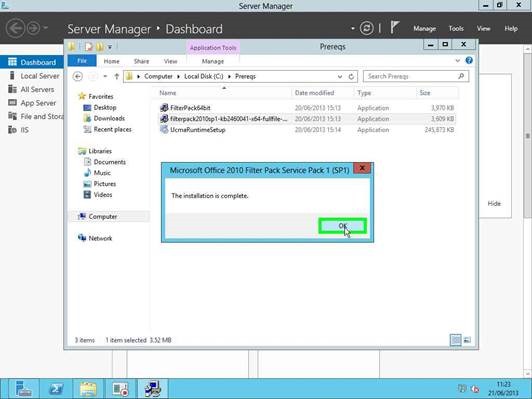
Step 22: Left click on "Windows PowerShell (button)"
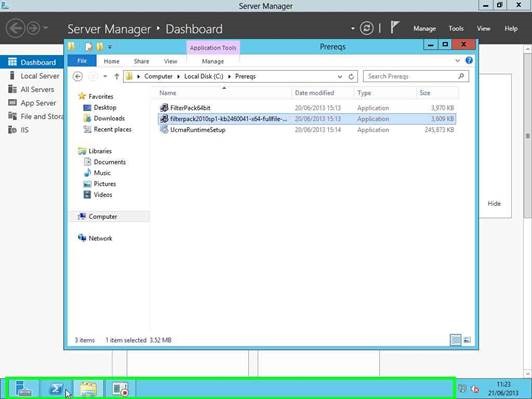
Step 23: restart the server.
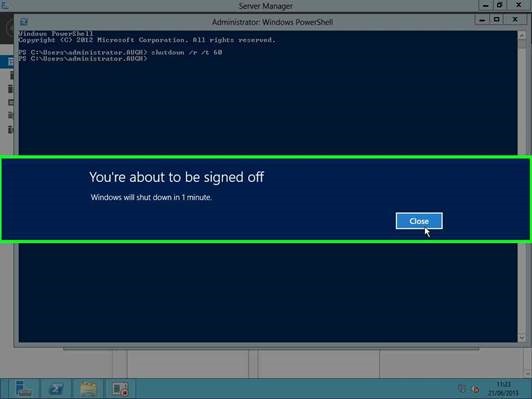
Shutdown.exe /r /t 60
Step 24: Left click on "Close (button)" in "You're about to be signed off"
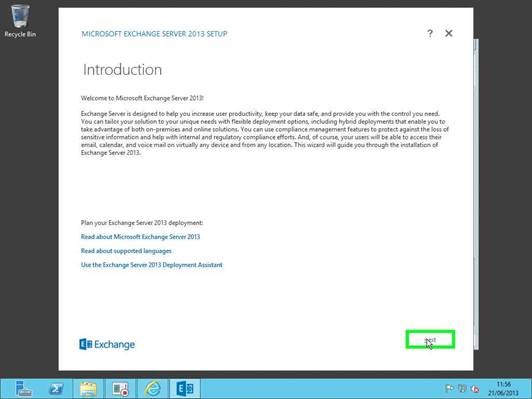
Left click on "next (button)" in "Exchange Server Setup"
Step 2: Left click on "next (button)" in "Exchange Server Setup"
Step 3: Left click on "Exchange Server Setup (window)" in "Exchange Server Setup"
Step 4: Left click on "Exchange Server Setup (window)" in "Exchange Server Setup"
a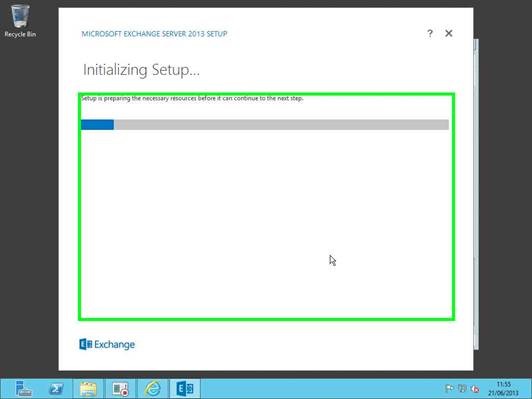
Step 5: User left click on "next (button)" in "Exchange Server Setup"
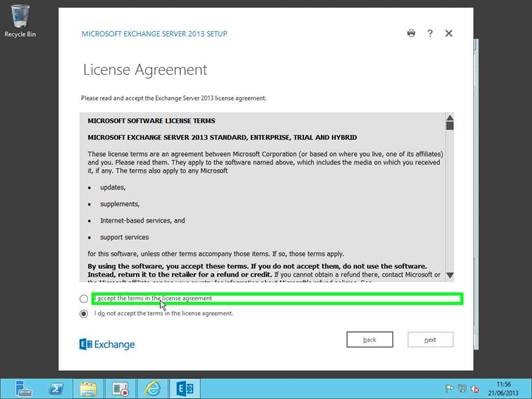
Step 6: Left click on "I accept the terms in the license agreement" in "Exchange Server Setup"
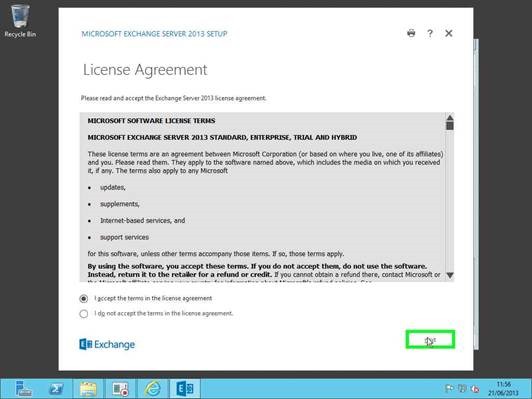
Step 7: Left click on "next (button)" in "Exchange Server Setup"
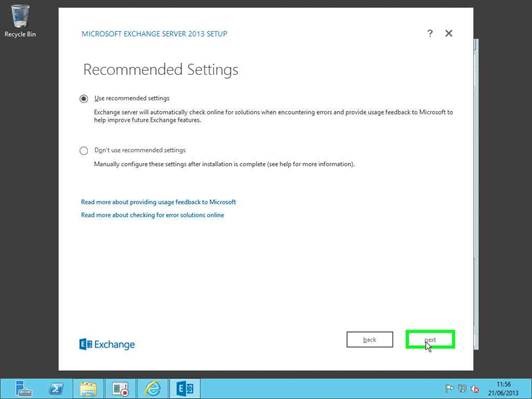
Step 8: Left click on "next (button)" in "Exchange Server Setup"
Step 9: Select "Mailbox role” in "Exchange Server Setup"
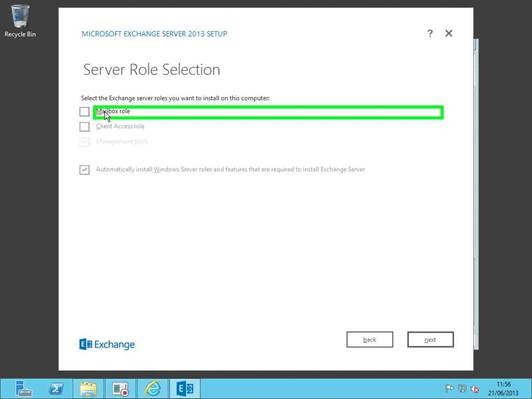
Step 10: Select "Client Access role" in "Exchange Server Setup"
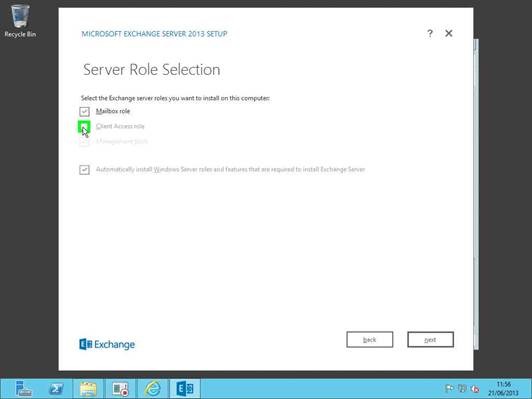
Step 11: Left click on "next (button)" in "Exchange Server Setup"
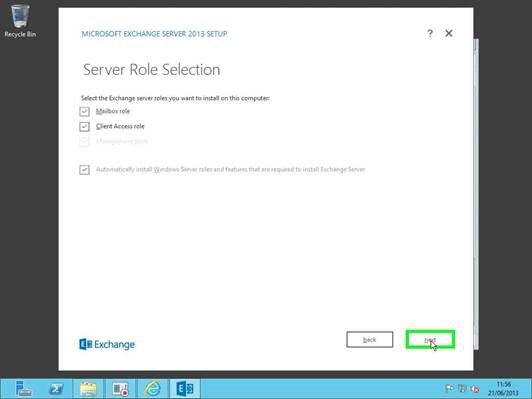
Step 12: Left click on "next (button)" in "Exchange Server Setup"
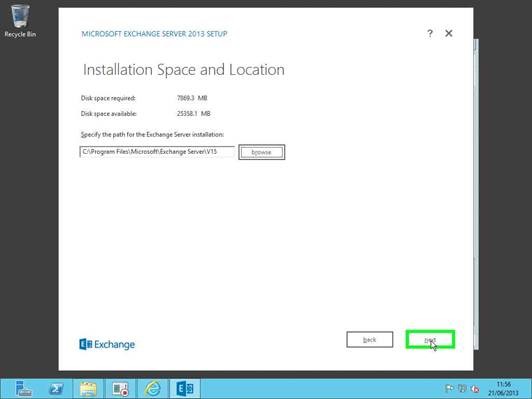
Step 13: Choose the installation path and left click on "next (button)" in "Exchange Server Setup"
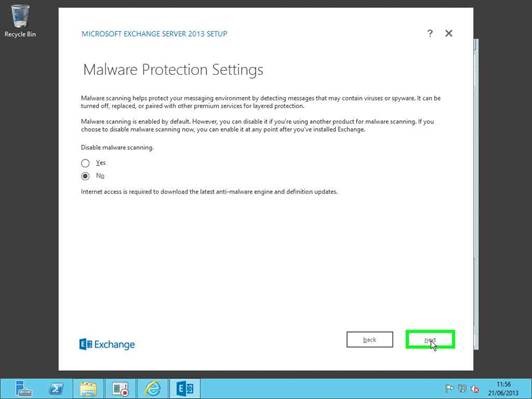
Step 14: Leave malware scanning on by making sure the radio button is on “No”and left click on "Exchange Server Setup (window)" in "Exchange Server Setup"
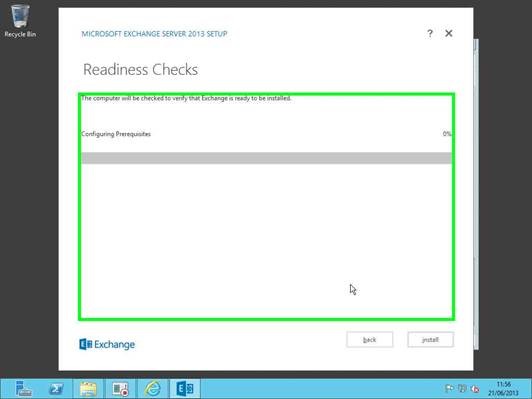
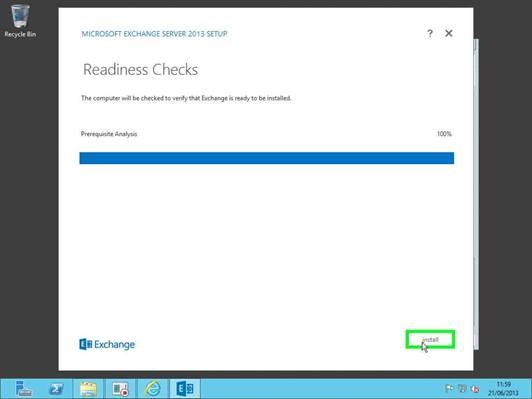
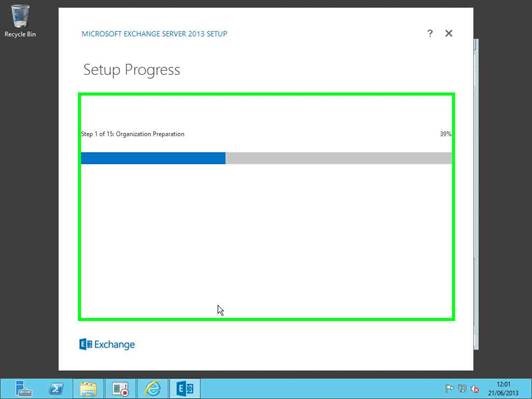
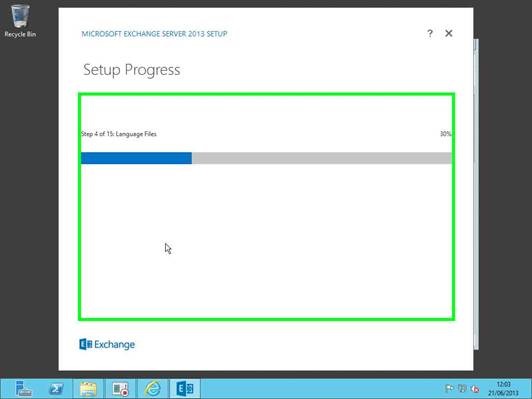
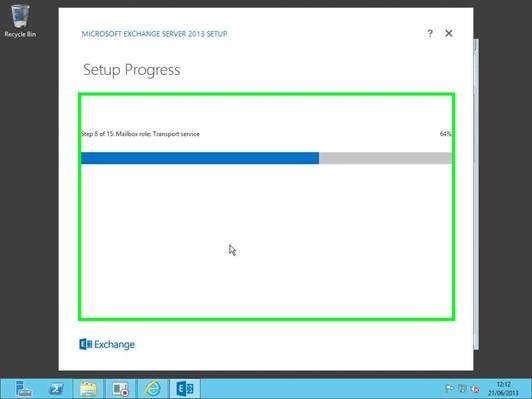
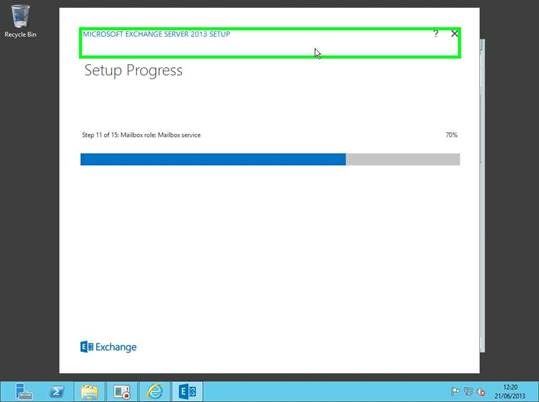
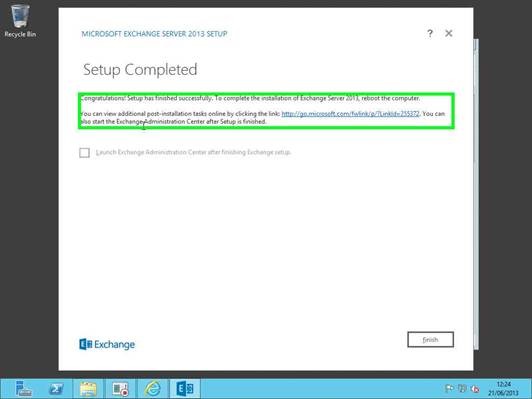
Step 15: Left click on "finish (button)" in "Exchange Server Setup"
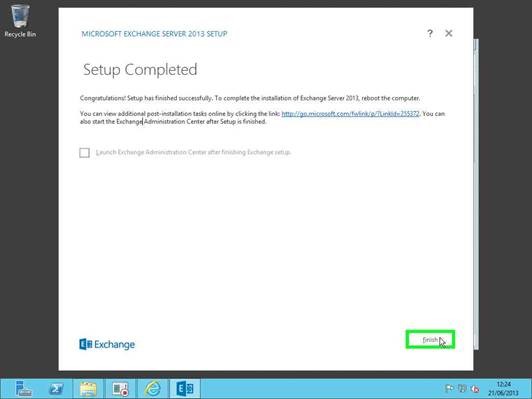
Step 16: Restart the server.
Shutdown.exe /r /t 60